
Hello everyone! In this blog post we will walk you through the basic steps on how to make a glass aquarium (we will be making two 15gallon tanks with dimension 24" x 12" x 12") plus we will also be teaching you a quick, cheap, easy & hassle-free way to make a background for your tank,
What you will need:
Materials:
Glass, Silicon tube, Masking tape, Styrofoam board, Charol plastic sheet, Shampoo (any brand), Newspapers
Tools:
Caulking gun, Cutter knife, Scissors, Plastic card
Purchasing the glass
First of all, you'll need to go to your local aluminum & glass supply shop and purchase the glass you will need for your project. Use the chart below to determine the standard dimensions of the tank you want to make (forgot the source of the chart so if you guys know kindly post it on the comments section).

Making the Tank
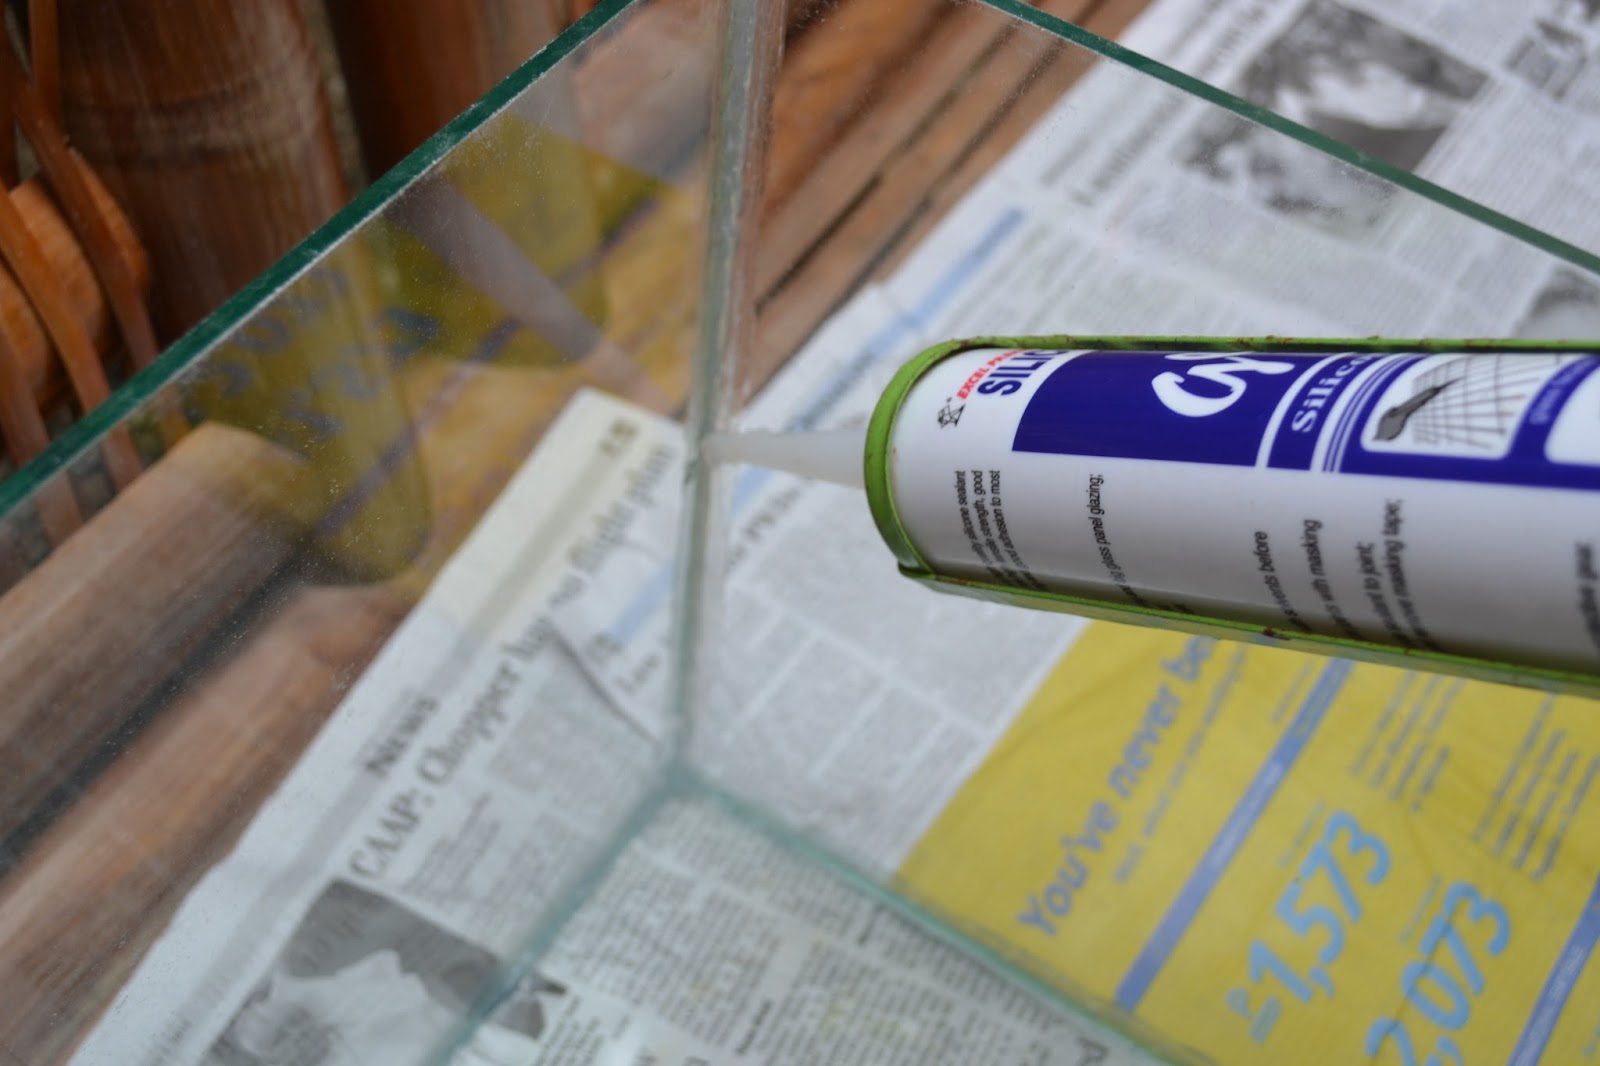
Now that we have our glass, time to get out the caulking gun and silicon tube so we can start assembling our glass tank. Having newspapers helps to keep the mess in control. You can also clean the silicon off your fingers or hands by rubbing it on the newspaper.

Start by setting down the glass panes in correct arrangement. Determine which panes will be for the bottom, front, back and sides.

Next, start to apply silicon on the back portion of the bottom panel where the back pane will sit on the bottom pane.


Do the same thing for the other side pane.

Then, apply silicon on the front of the bottom pane and on the side panes to attach the front pane of glass.

Be extra careful when guiding your nozzle as you could cut your finger on the sharp glass edge.

Try to apply a uniform amount of silicon and make sure you don't leave any space otherwise it may cause leakage in your tank.
Now we are halfway through our silicon work. It should look like a proper tank now but we still need to apply a layer of silicon on the insides of the tank. Make sure that the glass panes are placed and lined up properly. You can moved it slightly to adjust because the silicon is still quite wet and haven't really gotten a fixed hold yet.

After making sure that everything is aligned, apply silicon on the inside edges of the tank.

All edges on the bottom
are to be covered with
silicon.
Those on the sides should be covered with silicon as well.
You can use a clean finger to lightly press on the silicon to smooth it up.

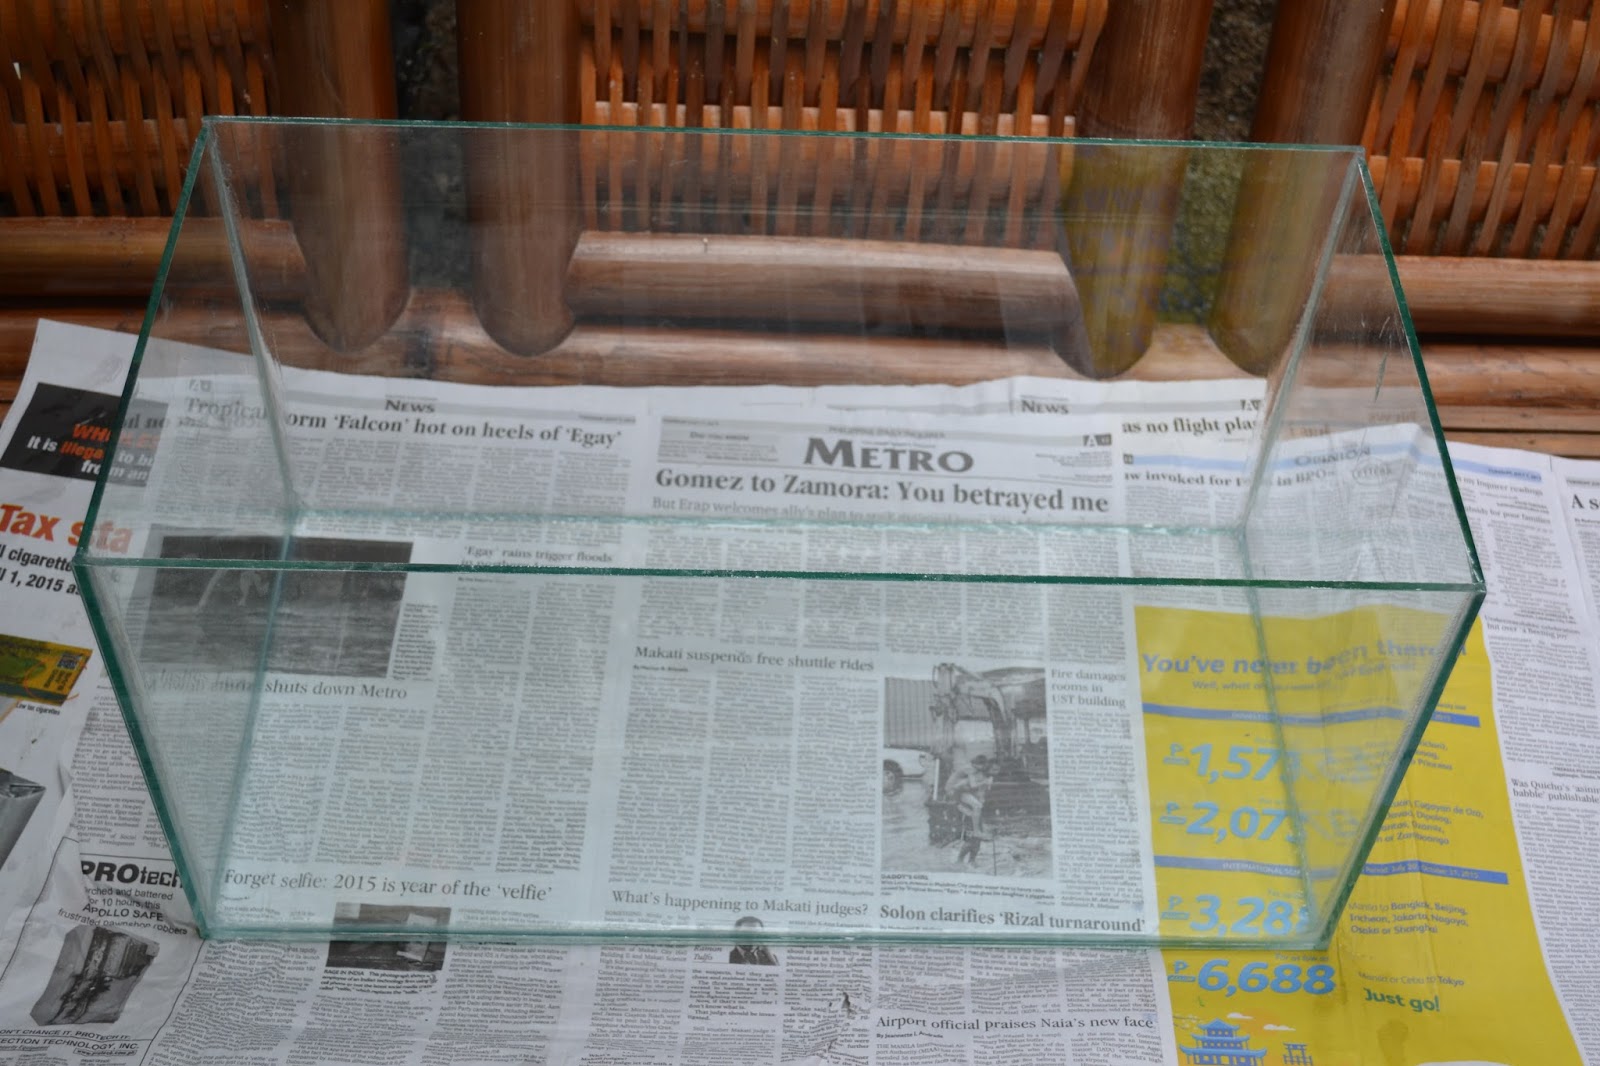
Here's the finished tank! Let it dry and set for 24 hours before testing it out.

We will work on the second tank and let them both dry for 24 hours and we will test both out the next day.


Time to fill up the two 15 gallon tanks with water to test for leaks.


If everything goes well (no leaks), empty out the water from the tank and wipe the outside surface dry in preparation to apply the background.

Applying background to the tank
Instead of using paint, we will be using a cheaper and easier to use material. Its a plastic sheet called charol. Available in a number of colors, the ones usually used for aquarium are black or blue but you are free to decide what color you would like for your tank. In this tutorial we will be using the black charol. Other stuff you will be needing is a little bit of shampoo and a flexible plastic card.
Cut the charol to fit the area to be covered. You don't need to be
really accurate as the excess can easily be removed by a blade knife
(cutter) afterwards.

Apply a small amount of shampoo on the glass pane where you will apply the background. Spread it out evenly with the card.


Place the charol on the glass pane and use the card to flatten out and remove any bubbles trapped. Swipe the card in one smooth direction on the surface and don't press too hard or you might tear the charol.

Tape out the edges after cutting out the excess to help it stay in place while it dries. We used masking tape on the bottom part of the tank for better hold since it will be hidden anyway and plastic tape on the front portion as masking tape will be unsightly.

Here is the finished product!

Setting up tank on the rack
Always place styrofoam board on the base of your tank as support for the pressure that the water will exert to the bottom of your aquarium.


Fill up the tank with water up to about two inches before adding substrate. This is to lessen the impact of the substrate on the surface of your glass and helps prevents damage to your tank.

Slowly add the substrate to the tank. Here we are using fine Red Lava Rocks as our substrate. Do not drop it in but gently release it into the bottom of the tank. Here we are using rinsed red lava rocks. The water is a little bit cloudy but it will clear out soon.

Once the substrate has been added. Continue to fill up the tank with water. To prevent the substrate from being disturbed, you can place something on the bottom of the tank like the flat rock we used in ours.

Install your filtration system of choice, lighting, & setup up your tank depending upon your preference but its best to try to imitate the natural habitat of the type of aquatic pet you would be keeping in the tank. Cycle your tank properly before introducing fish or any other aquatic pet. Remember that they will be living in that tank so you should give the best you can for them enabling them to grow healthy and active. In return it will provide you with hours of viewing pleasure and is a great stress-reliever.

Start making your own tank and share your experience with us on our social media sites. We're on Facebook, Instagram, Twitter, Tumblr, Blogger, Youtube & Snapchat (Username: magspets) :D


Comments
Post a Comment